If you're looking to run a powerful coding assistant locally without paying for cloud-based LLM APIs, this guide will walk you through the entire process. We’ll use Ollama to download and manage an open-source LLM, specifically Qwen3Coder 30B, and then integrate it with Cloud Code so you can run your own coding agent for free.
Everything in this tutorial is designed to be simple, practical, and easy to follow.
Step 1: Install Ollama on Your Mac
First, head over to the official Ollama website:
👉 https://ollama.com
Download and install Ollama for macOS by following the instructions provided on the site.
Once installed, open your Terminal to confirm that Ollama is available:
ollama --version
If you see a version number, you’re good to go.
Step 2: Find the Qwen3Coder Model
Now go back to the Ollama website and navigate to the Models section.
Search for:
Qwen3Coder
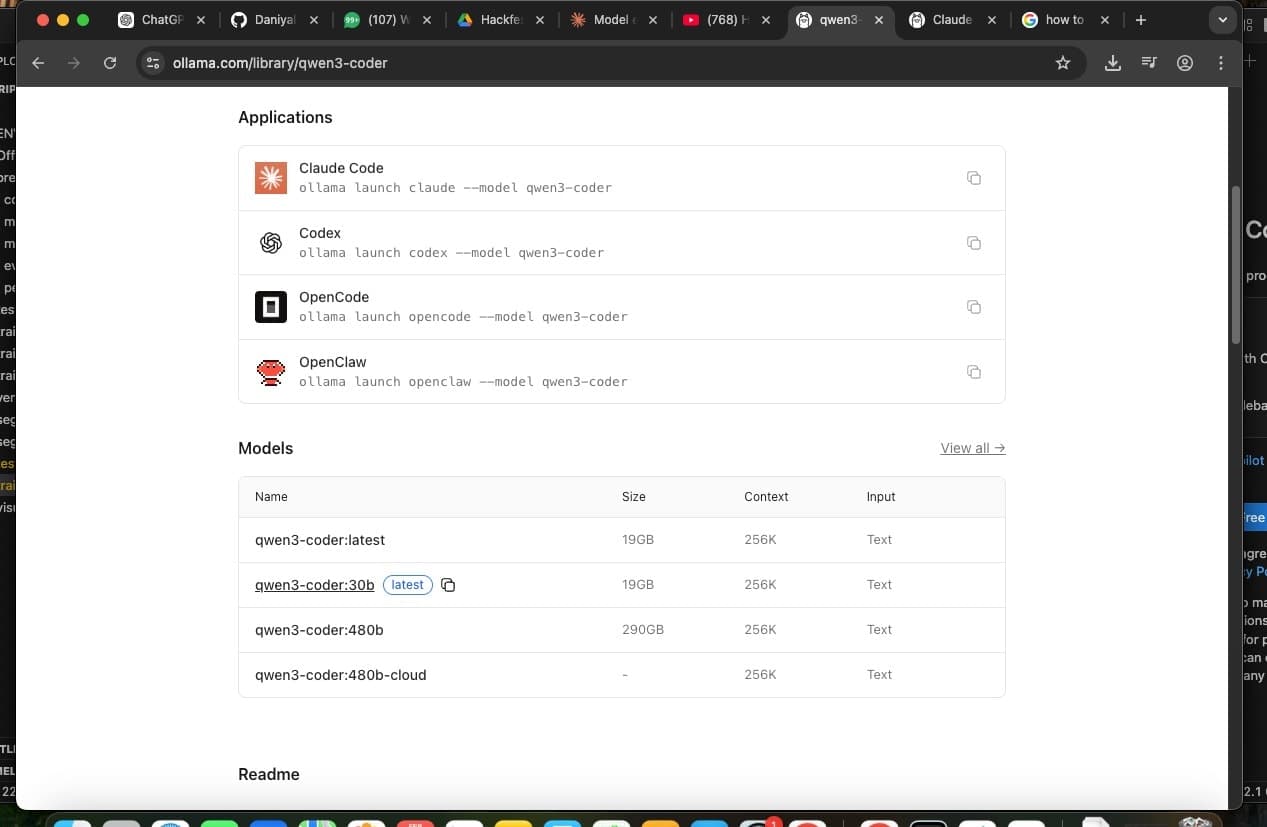
Once you open the Qwen3Coder page, scroll down to see the available model variants. You’ll notice multiple sizes (smaller and larger versions).
For this tutorial, we’ll be using:
Qwen3Coder:30B
This version is more powerful and better suited for running advanced coding agents locally in cloud-mode style environments.
Step 3: Download the Qwen3Coder 30B Model
Once you're on the Qwen3Coder model page, you’ll see a CLI command similar to this:
ollama run qwen3coder:30b
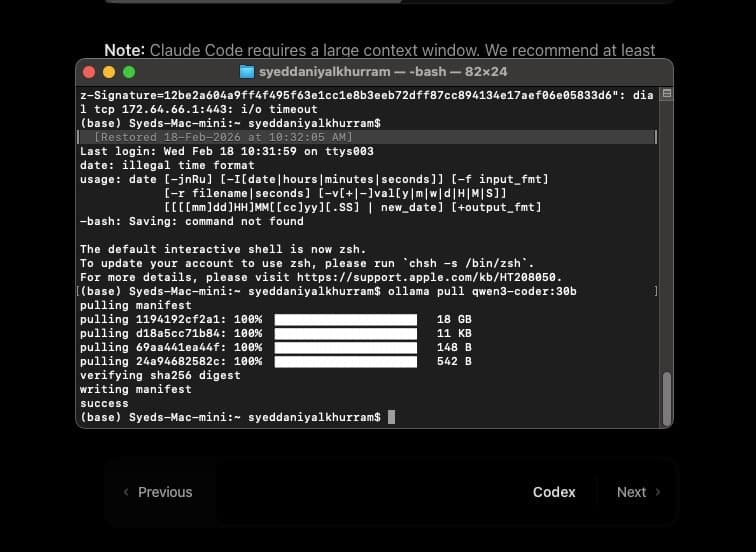
Copy this command and paste it into your Terminal.
When you run it, Ollama will begin downloading the entire LLM model to your system. Since this is a 30B model, the download may take some time depending on your internet speed.
After the download completes, the model will load automatically.
Step 4: Install Cloud Code
Now that we have the LLM installed locally, the next step is to install Cloud Code.
Visit the Cloud Code documentation page for Ollama integration:
👉 https://docs.ollama.com/integrations/claude-code
In your Terminal, run:
curl -fsSL https://cloud.ai/install.sh | bash
This command downloads and installs Cloud Code on your system.
We need Cloud Code because the goal isn’t just to download an LLM — we want to run a local AI coding agent interface powered by our model.
Step 5: Launch Cloud Code with Ollama
Once Cloud Code is installed, return to your Terminal and run:
ollama launch cloud --config
This will open the Cloud Code setup interface.
You’ll be asked to:
Select the agent configuration
Choose the model
When prompted to choose a model, select:
qwen3coder:30b
After that, complete the remaining configuration steps as guided in the interface.
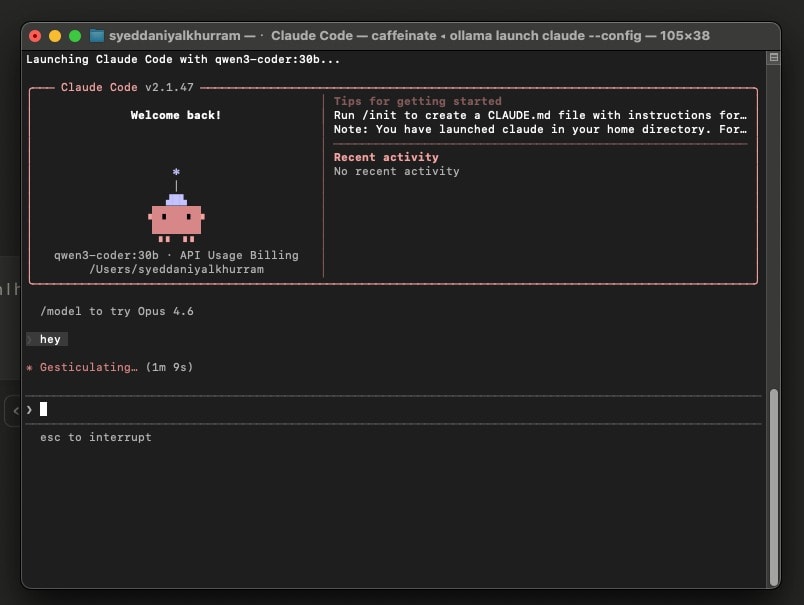
Step 7: Start Using Cloud Code Locally
Once setup is complete, Cloud Code will launch with your selected model.
You’ll see an interface that allows you to:
Write and execute coding prompts
Generate scripts
Build agents
Interact with your local LLM
At this point, you are running a fully local AI coding assistant — completely free and without API limits.
Final Thoughts
By combining Ollama and Qwen3Coder 30B with Cloud Code, you’ve essentially built your own local AI coding environment. This setup gives you:
Full privacy No API cost Unlimited usage Control over model selection
While premium models may offer marginal improvements in reasoning or coding performance, this setup is more than powerful enough for most development workflows.
If you're serious about building agents, experimenting with LLMs, or developing AI-powered tools without spending money, this is one of the best local setups you can have.